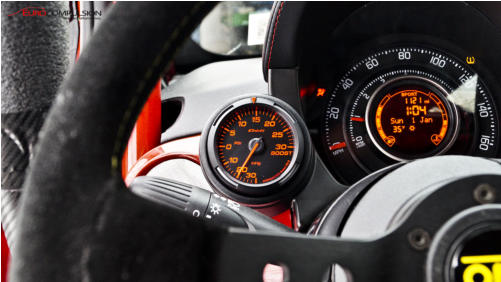
DEFI BOOST GAUGE INSTALLATION
DEFI BOOST GAUGE INSTALLATION
TOOLS NEEDED:
-Small flat-tip screw driver
-Small Torx bit set
-Philips Screw Driver
-Dremel tool w/ Stone grinder bit and Router bit
-Pliers
Materials Needed:
-2x Wire taps
-4-6 Zipties
-Small fuel clamps 1/4 & 3/8
Difficulty Rating: 2/5 (This mod is not for the weak of heart, say bye bye to your useless gauge)
Install Time: 1-2hrs Total
Gauge & Surround REMOVAL:
1.Disconnect Battery
2.Remove Lower Steering wheel cover (2x Philips screws from underneath)
3.Pull down on cover, this will reveal two philips screws for top cover (remove them)
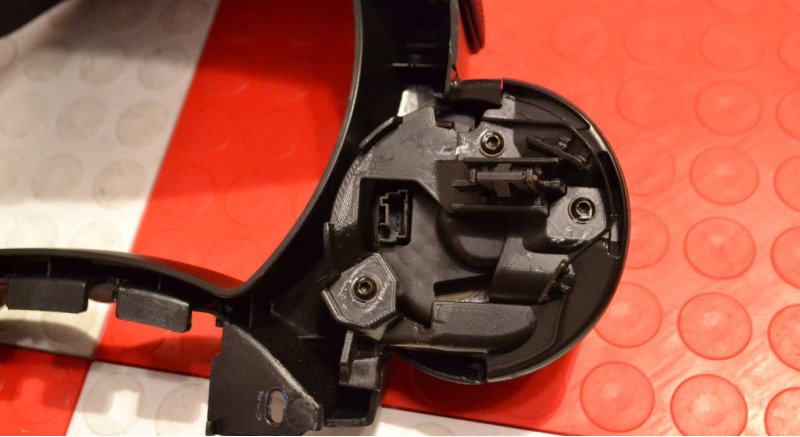
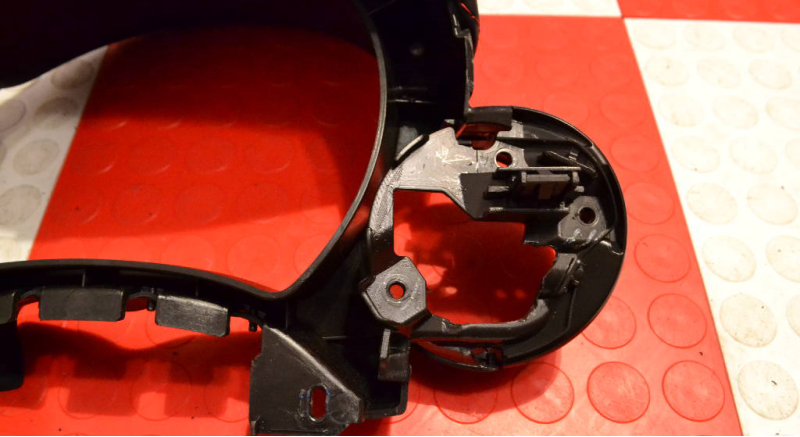
4.Locate the two Torx screws along the base of the Surround (look under rubber flaps) (pic 1)
5.Remove Torx screw above speedometer
6.Remove surround pull up and out/unclip stock boost gauge (You will need small flat head to depress tab)
7.Flip over surround (remove 3 torx screws) Pull gauge out from surround (pic 1)
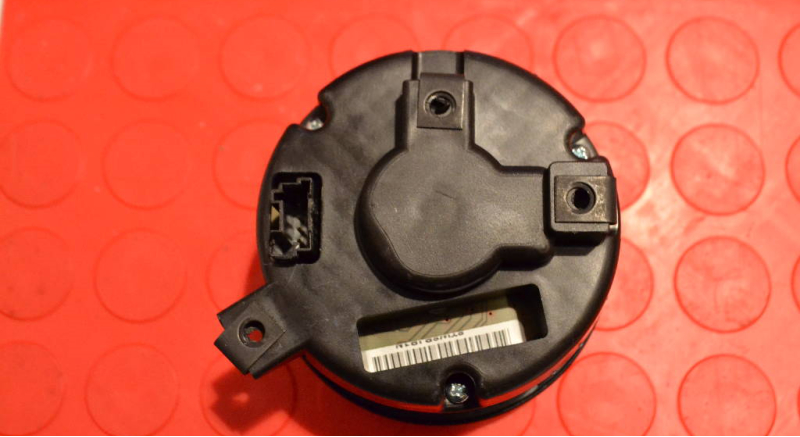
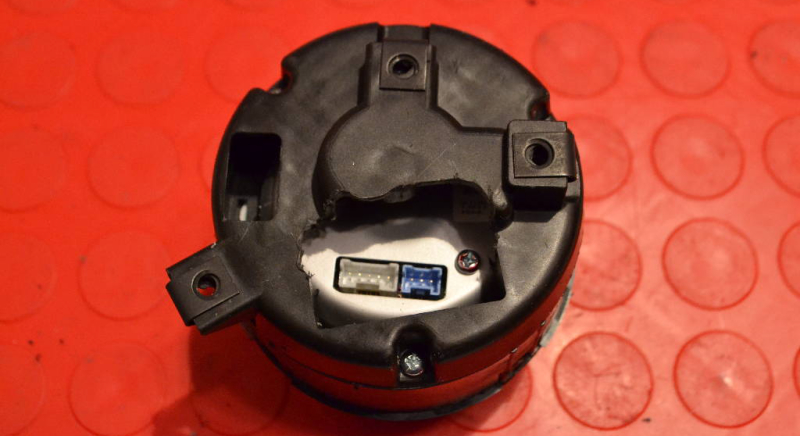
8.Remove three Philips screws from back of gauge enclosure & Remove back of gauge (pic 2)
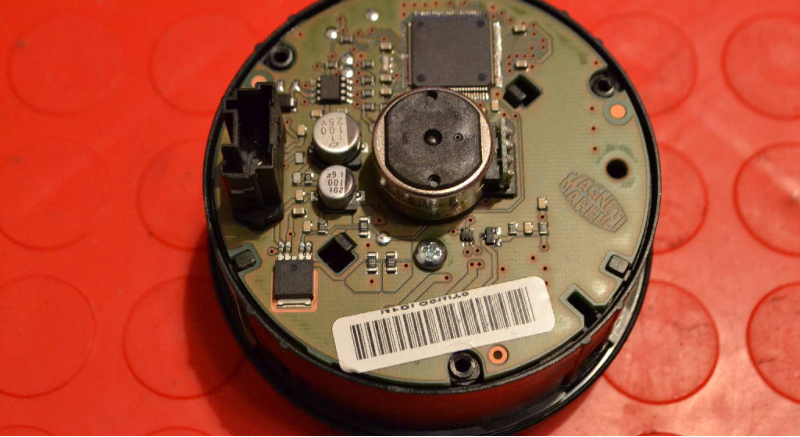
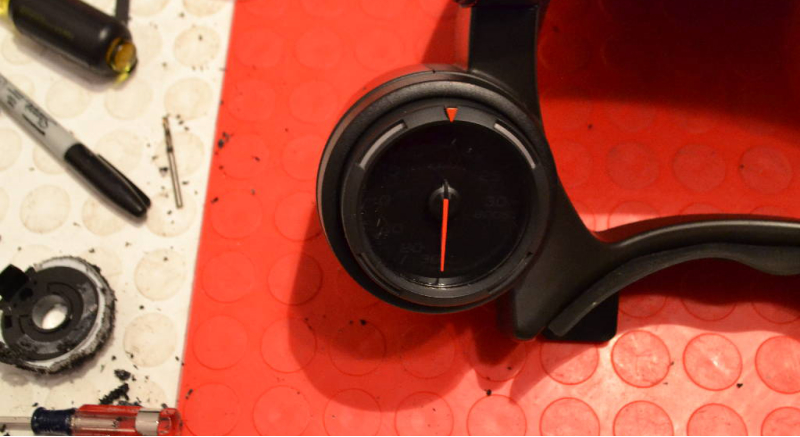
9.Remove 1 philips screw on digital board of gauge (pic 3)
10.Pull board and needle out (pull back 2 black tabs)
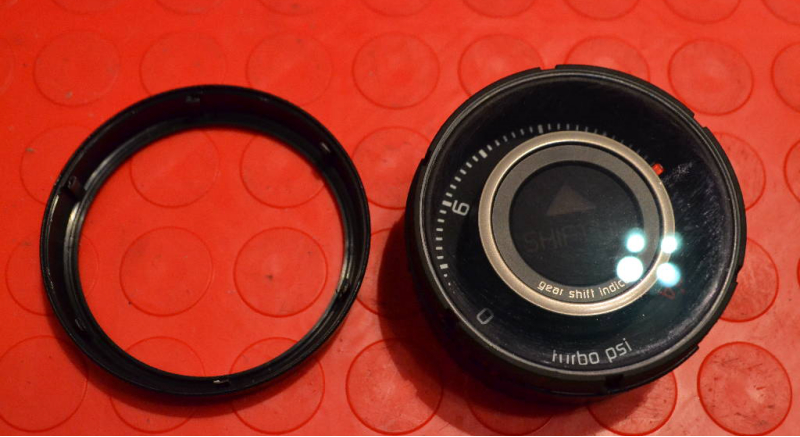
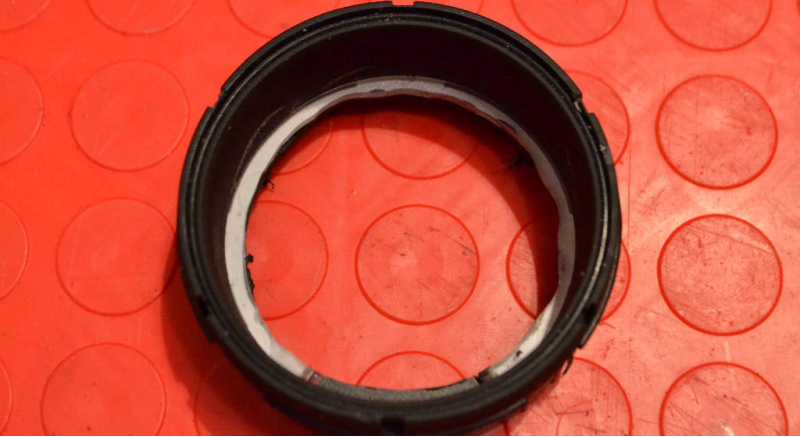
11.Flip gauge around remove outer ring (be-careful 6 small tabs) (pic 4)
12.Gently remove glass (should pop out), remove shift light (pic5)
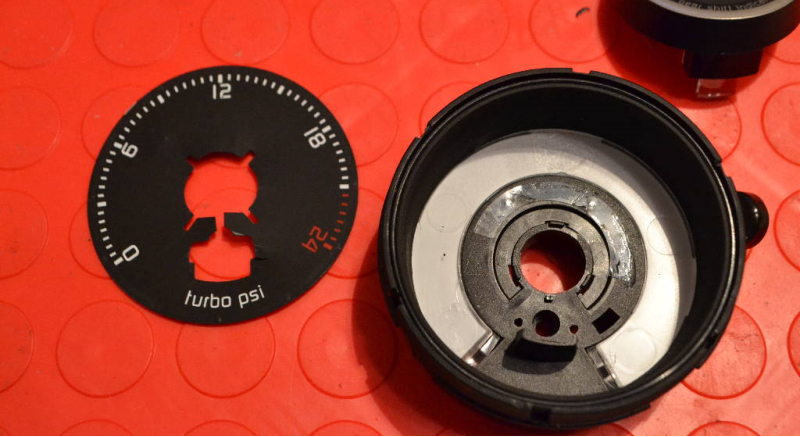
13.Remove Gauge face (thin plastic, push from behind its glued on) (pic 6)
DREMEL TIME
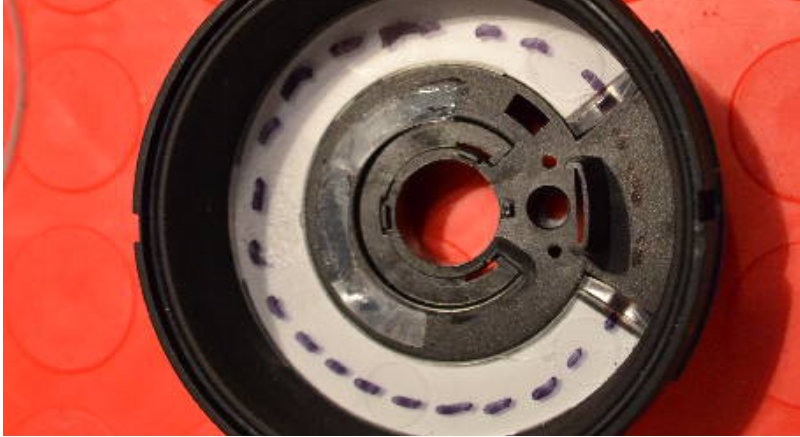
1.Take a sharpie marker and mark an oval inside leaving approx. 3-4 mm of material (pic 7)
2.Mark the inside of the housing as displayed in pic 8
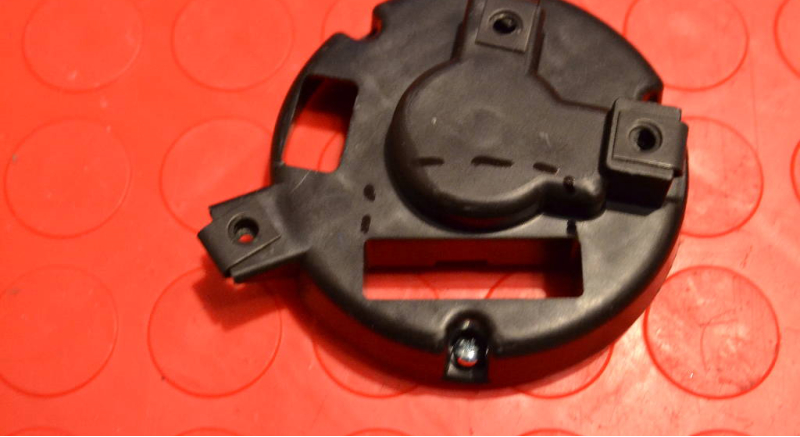
3.Mark the the back plate of the gauge housing as shown pic 9
4.Begin using the routed bit on the gauge, go nice and slow, when done take the grinding wheel
and smooth out the hole test fitting the gauge, until the gauge fits in nice and tight (pic 12)
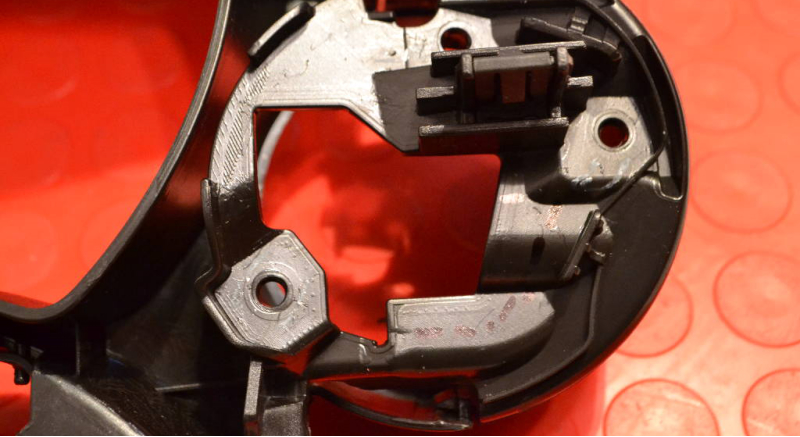
5.Dremel out the back plate and gauge housing on the cluster surround as shown (pic 10 & 11)
6.Use the included foam tape and wrap the gauge and insert the gauge into the pod,
reinstalling the back plate and philips screws(check clearance of wires) and install gauge pod in to surround
again checking to clearance of connectors and wires (pic 13 &14)
UNDER THE HOOD:
1.Remove Engine Cover/Filter housing (if Applicable)
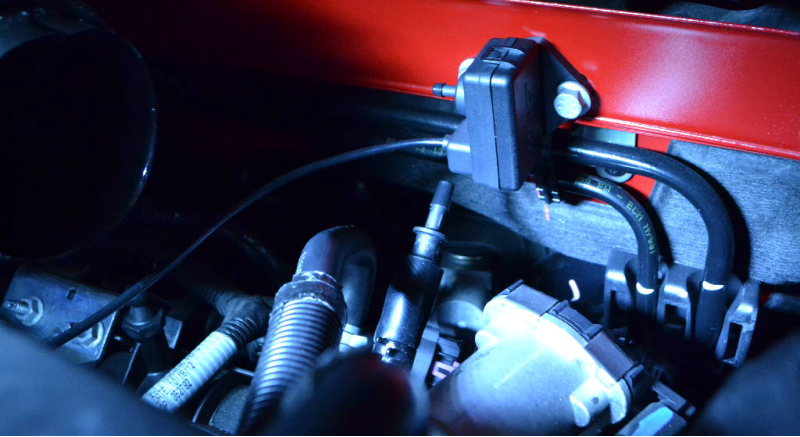
2.Locate Intake manifold plug (Remove plug) (Small flat tip screw driver)
3.Use 3/8 hose insert over plug, insert adapter 3/8 to 1/4 and attach 1/4 hose (pic 15)
(use lubricant it will be tight)
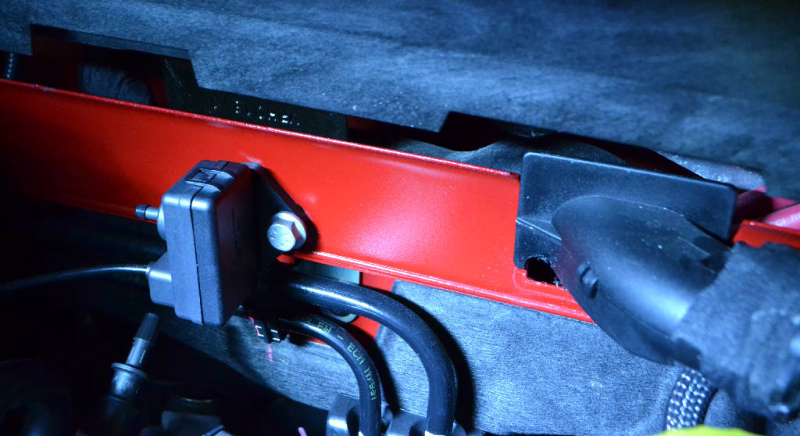
4.Mount pressure sensor to firewall (10mm) (pic 15 & 16)
5.Make small hole in plastic surround of main wiring harness (carefully)
6.Run wire to rubber grommet of main wiring harness (pic 17) (make a small hole and feed in signal wire,
it will drop down to pedal area of car. (you will need to remove cowl cover to access this area)
RUNNING WIRES INTO CAR
http://fiattech.com/forum/how-to/123-how-to-run-power-wire-into-cab
WIRING IT UP
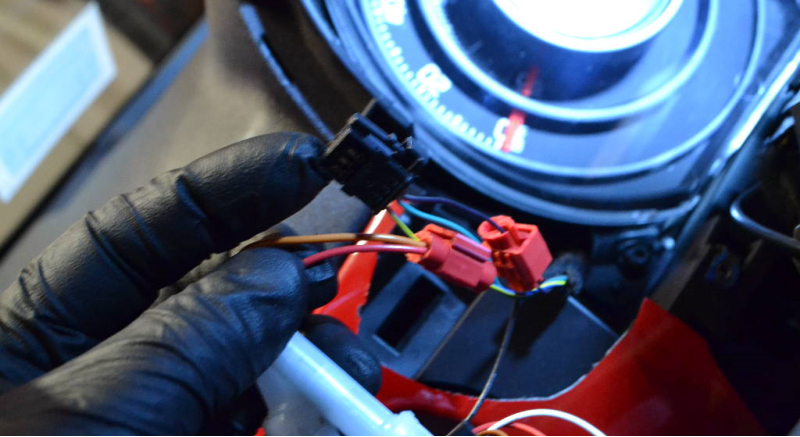
1.Run the signal wire up to the boost gauge under dash
2.connect the red/orange wire to the OEM yellow wire of the boost gauge (pic 18)
3.connect the black wire to the OEM purple/blue wire (pic 18)
4.neatly tuck the wires behind the dash and ziptie and overages of wire
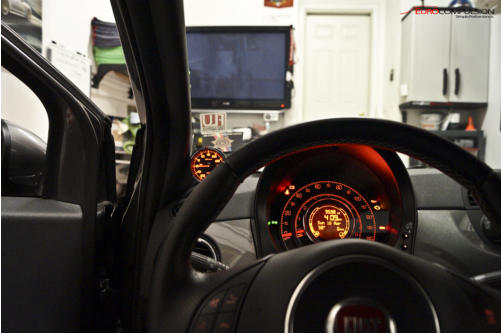
5.Reinstall Gauge surround to dash and upper and lower steering wheel covers
ABARTH

1.
2.
3.
4.
5.
6.

7.
8.
9.
10.
11.
12.
13.
14.
15.
16.
17.
18.
500T


EUROCOMPULSION® LLC/EURO+DRIVE® 2015. All Rights Reserved. Not affiliated with FIAT/DODGE. All Products Are RACE/OFF-ROAD Use ONLY. JOLLY CLUB LOGO used with permission.


Alfa romeo 4c
ROADRACE MOTORSPORTS
modern performance
abarthonly.com abarthonly abarthonly
500madness.com
alfa 4c tuning
alfa 4c intake
modern performance
https://www.ngencustomsandperformance.com/
ROADRACE MOTORSPORTS

alfa 4c forum